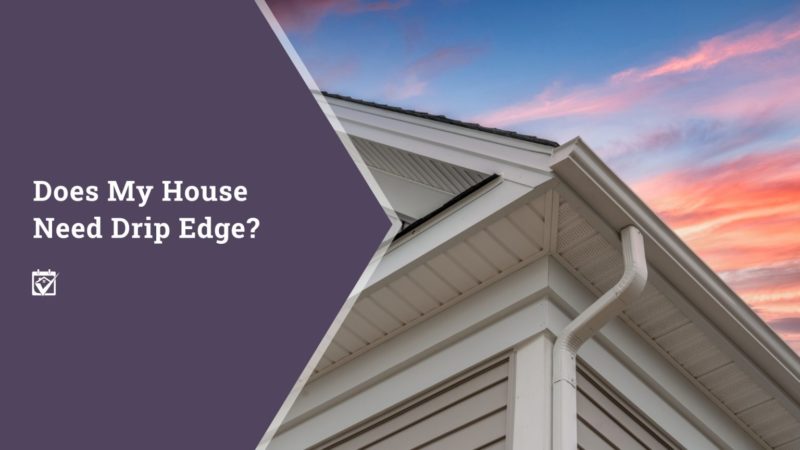
There’s a good chance that you don’t actually know what a drip edge is or how it relates to your roof, but it’s possible that you’ve at least heard the term before. If you’ve got a fairly new home, you probably have a drip edge installed on your roof already; in most places, it’s now required by building codes. For older homes, though, it’s entirely possible that your roof doesn’t have a drip edge.
Does your home need a drip edge if it doesn’t have one? Yes, absolutely. Drip edge flashing can solve a number of potential problems before they even occur and will quite likely increase the lifespan of your roof. With that said, it’s useful to understand what drip edge is and how it works so that you can get a better grasp of exactly how a little L-shaped piece of metal can make such a big difference for your home.
What Is A Drip Edge?
Drip edge or drip edge flashing is a bent metal sheet that’s usually shaped like an “L” or a “T” that is installed along the edge of your roof. The drip edge lies underneath the end of the shingles and typically extends down a few inches from the rooftop. The drip edge is made from a non-corroding metal such as aluminum, though copper and galvanized steel are also sometimes used. In many cases the drip edge is colored to match the siding or paint of a home, though it may also be used as an accent to the rest of the home.
Drip edge gets its name from the fact that it helps water flowing down a roof to “drip” into the gutters instead of clinging to the shingles on the edge of the roof and soaking into the underlying wood. It also helps to protect this wood from wind-driven rain that might otherwise be blown up underneath the shingles. On top of this, it provides some defense against insects and other pests that might try to burrow into the wood that the drip edge covers and protects against damage caused by the expansion of ice that might otherwise form in the wood.
How a Drip Edge Works
A drip edge is designed to take advantage of the surface tension of water, featuring a slope that helps to divert the water away and letting gravity and surface tension pull it down to the gutters. Different drip edge types handle this in different ways, but regardless of the specific designs and angles used, the core idea is to keep water moving once it reaches the edge of the shingles so that it can’t cling to the shingle and work its way underneath or into the wood that the shingles rest on.
While this might not sound like such a big deal, water soaking into the wood beneath the shingles can create an ideal breeding ground for mold and mildew. This can in turn cause the wood to start rotting, weakening the foundation underneath the shingles and allowing water to penetrate deeper in the future. This can result in leaks, weakness in the roof, and over time may even cause some structural damage.
Drip Edge Installation
Because drip edge flashing goes underneath the edge of your shingles, it’s typically installed at the same time as a shingle roof installation. With that said, it may be possible to install drip edge under existing shingles provided that the shingles and the underlying wood are both in good shape. Drip edge installation differs depending on where on the roof it’s being installed, so it’s typically best to hire an experienced roofer to perform the installation.
If you have questions you may contact me to see how I can help you.
Michelle Lohman, Associate Broker
Realty One Group

All content provided on this blog is for informational purposes only. The owner of this blog makes no representations as to the accuracy or completeness of any information on this site or found by following any link on this site. The owner will not be liable for any errors or omissions in this information nor for the availability of this information. The owner will not be liable for any losses, injuries, or damages from the display or use of this information.

Leave a Reply
You must be logged in to post a comment.